My hangar neighbor Daniel and his wife Angela took Zu and I up for a flight in their Beechcraft Bonanza. Daniel has me take over the final approach for landing and says keep it around 80 knots. This being my first ever landing, it seemed fun until we were about 50 feet from the ground. At that point I said, 'You got it from here'. He then says, 'You're doing just fine.' Slightly panicking, I respond, 'No, really, I'm not ready for this.' I then saw him sit back in his seat, hands off the controls, and realized he was serious. About 20 feet off the ground, much to my relief, he grabbed the controls and set her down. Thanks for the fun, Daniel!

Zu is all smiles as we climb through the broken clouds. Daniel wants to pull some Gs, but since Zu is pregnant, I got him to settle for some soft turns around the clouds.

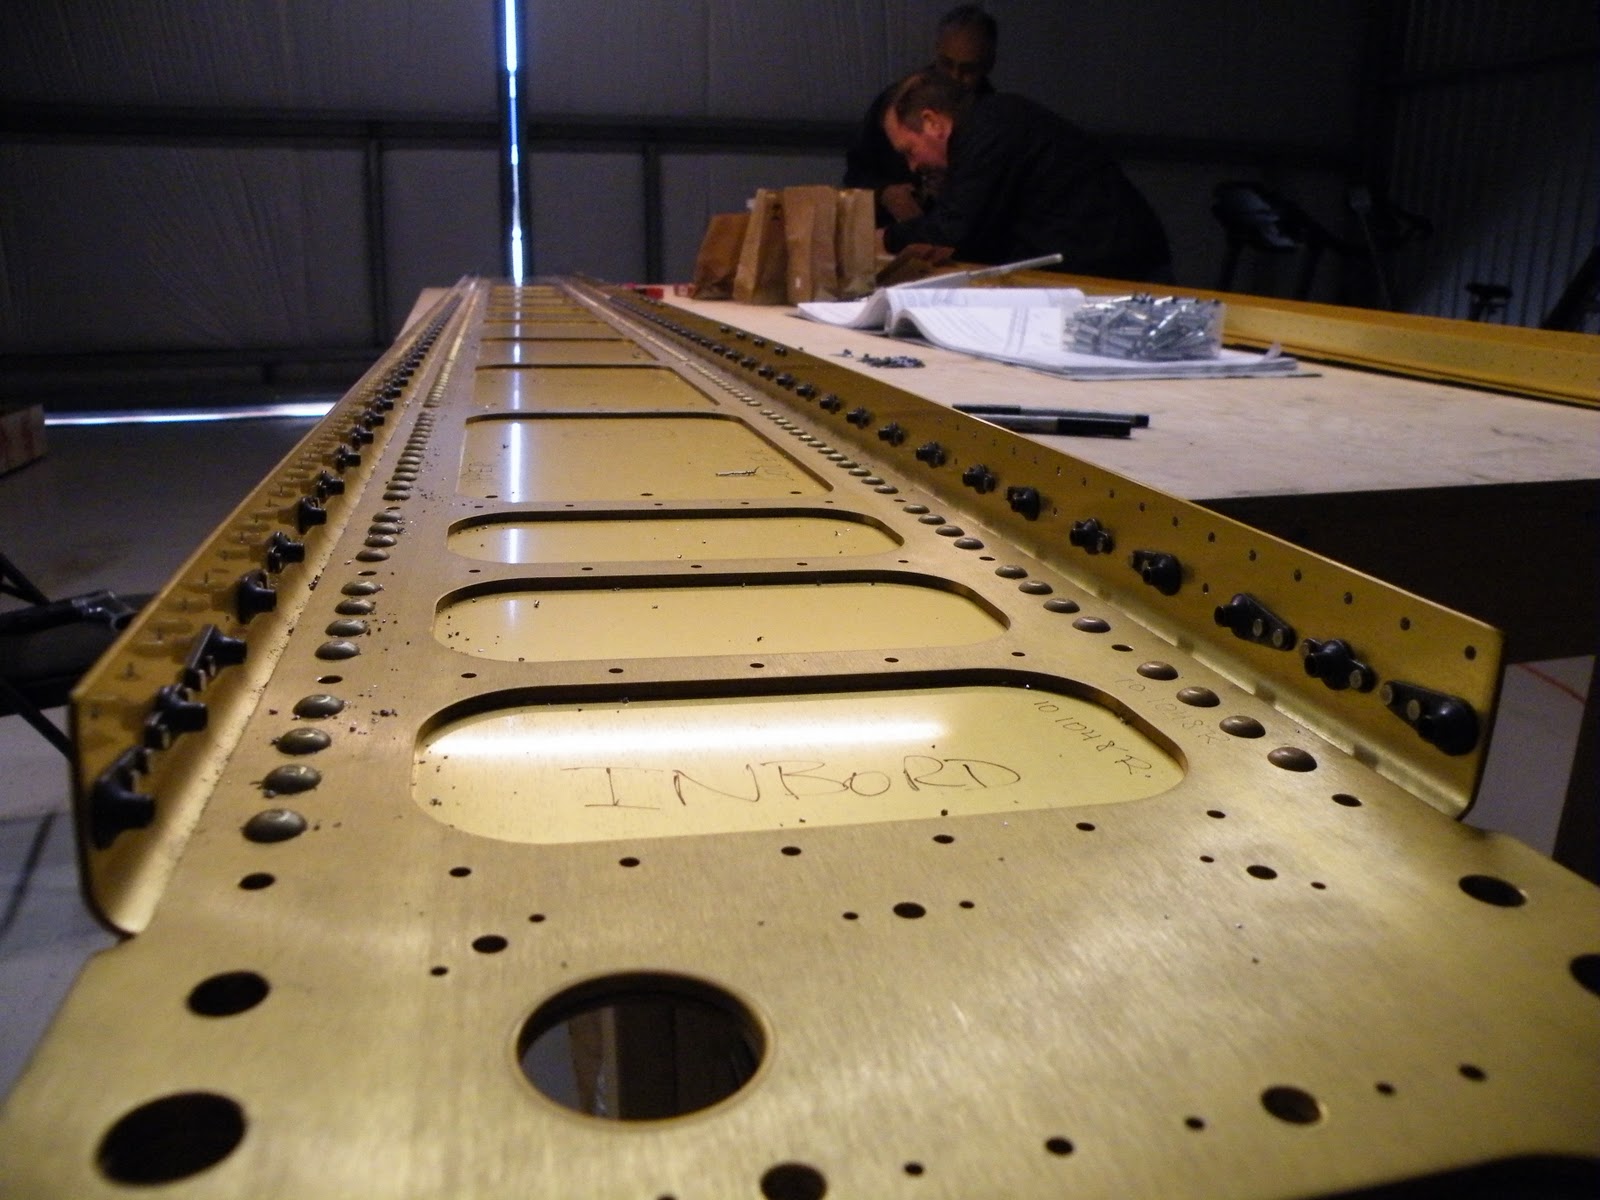
Back to work. The top skins are shown here clecoed to the ribs and main/rear spars. The top skins are two sheets of metal for each wing. There are some reinforcement plates under the inboard side of the skins for additional support where passengers walk.

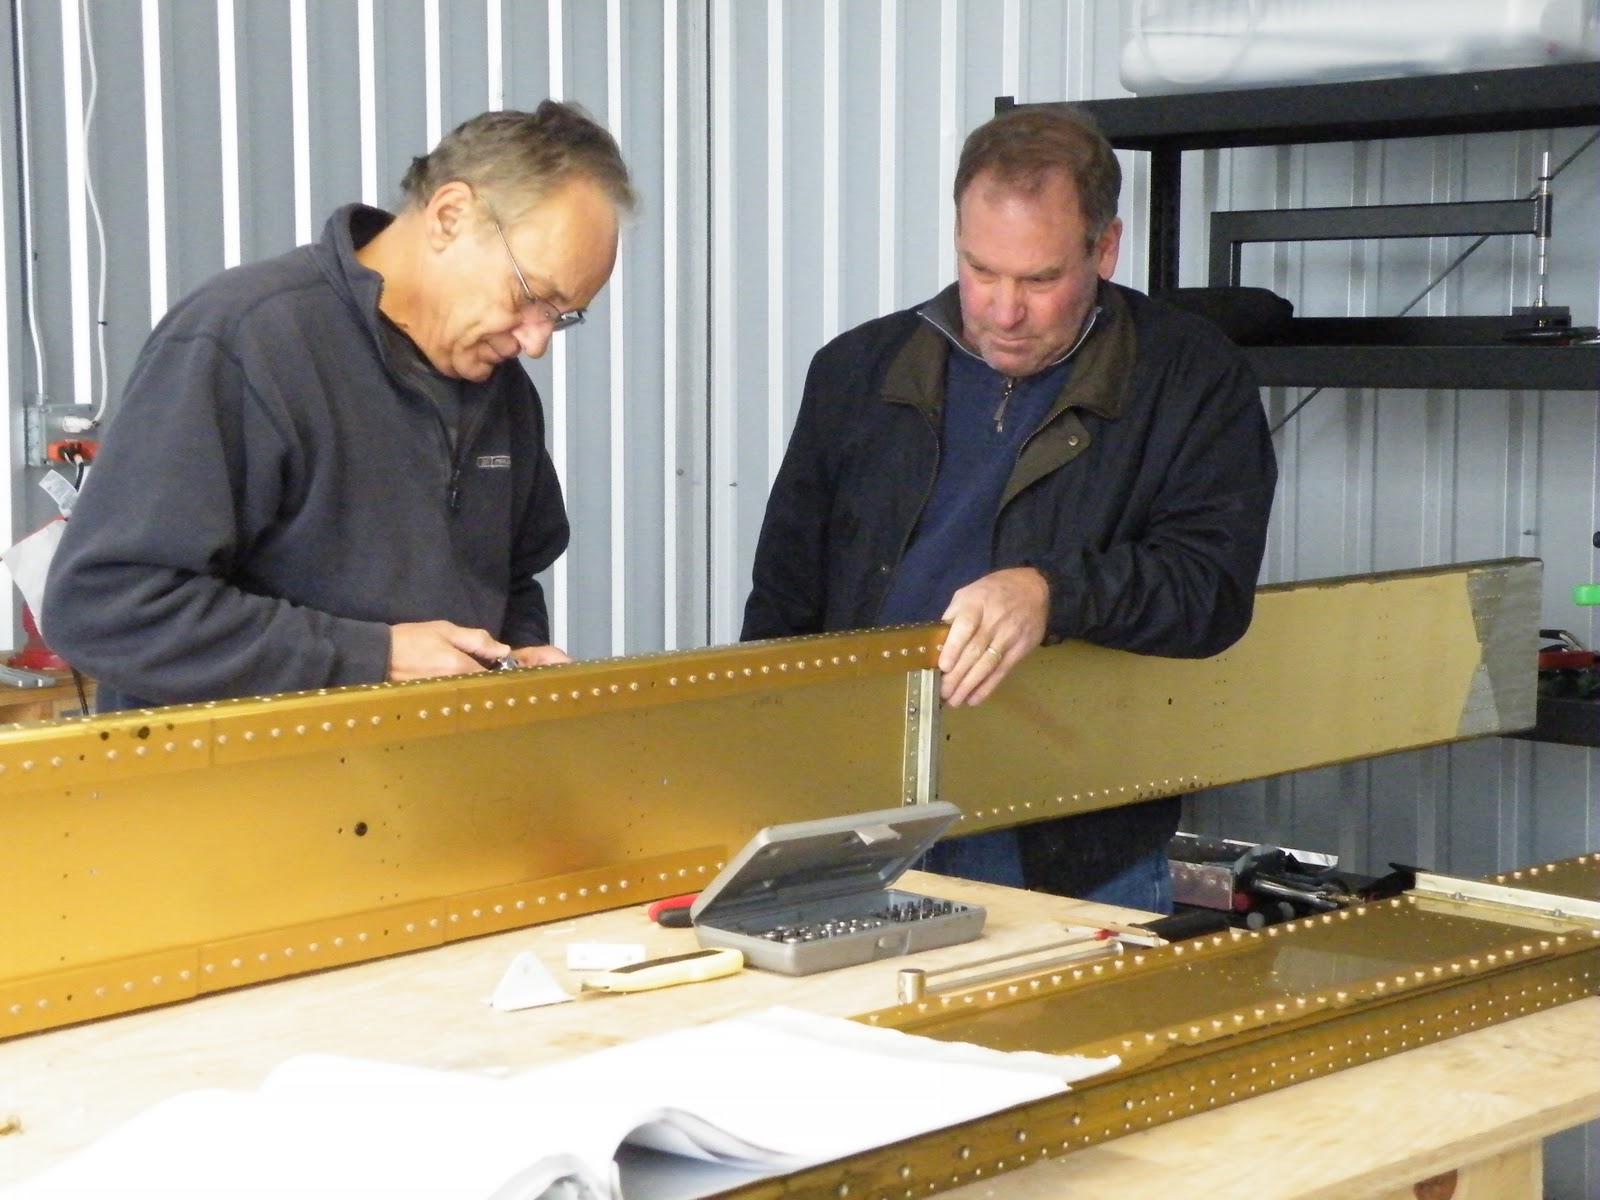
Daniel is helping me lay out the drilled and sanded skins for deburring and priming. The longer skin is outboard, while the shorter skin is inboard.

Dimpling is a lot of work. Each of the couple hundred holes has to be dimpled to receive the rivet heads. This allows the final skins to be smooth on the exterior surface. You've got to be careful not to miss the dimple shaft and hit the metal.

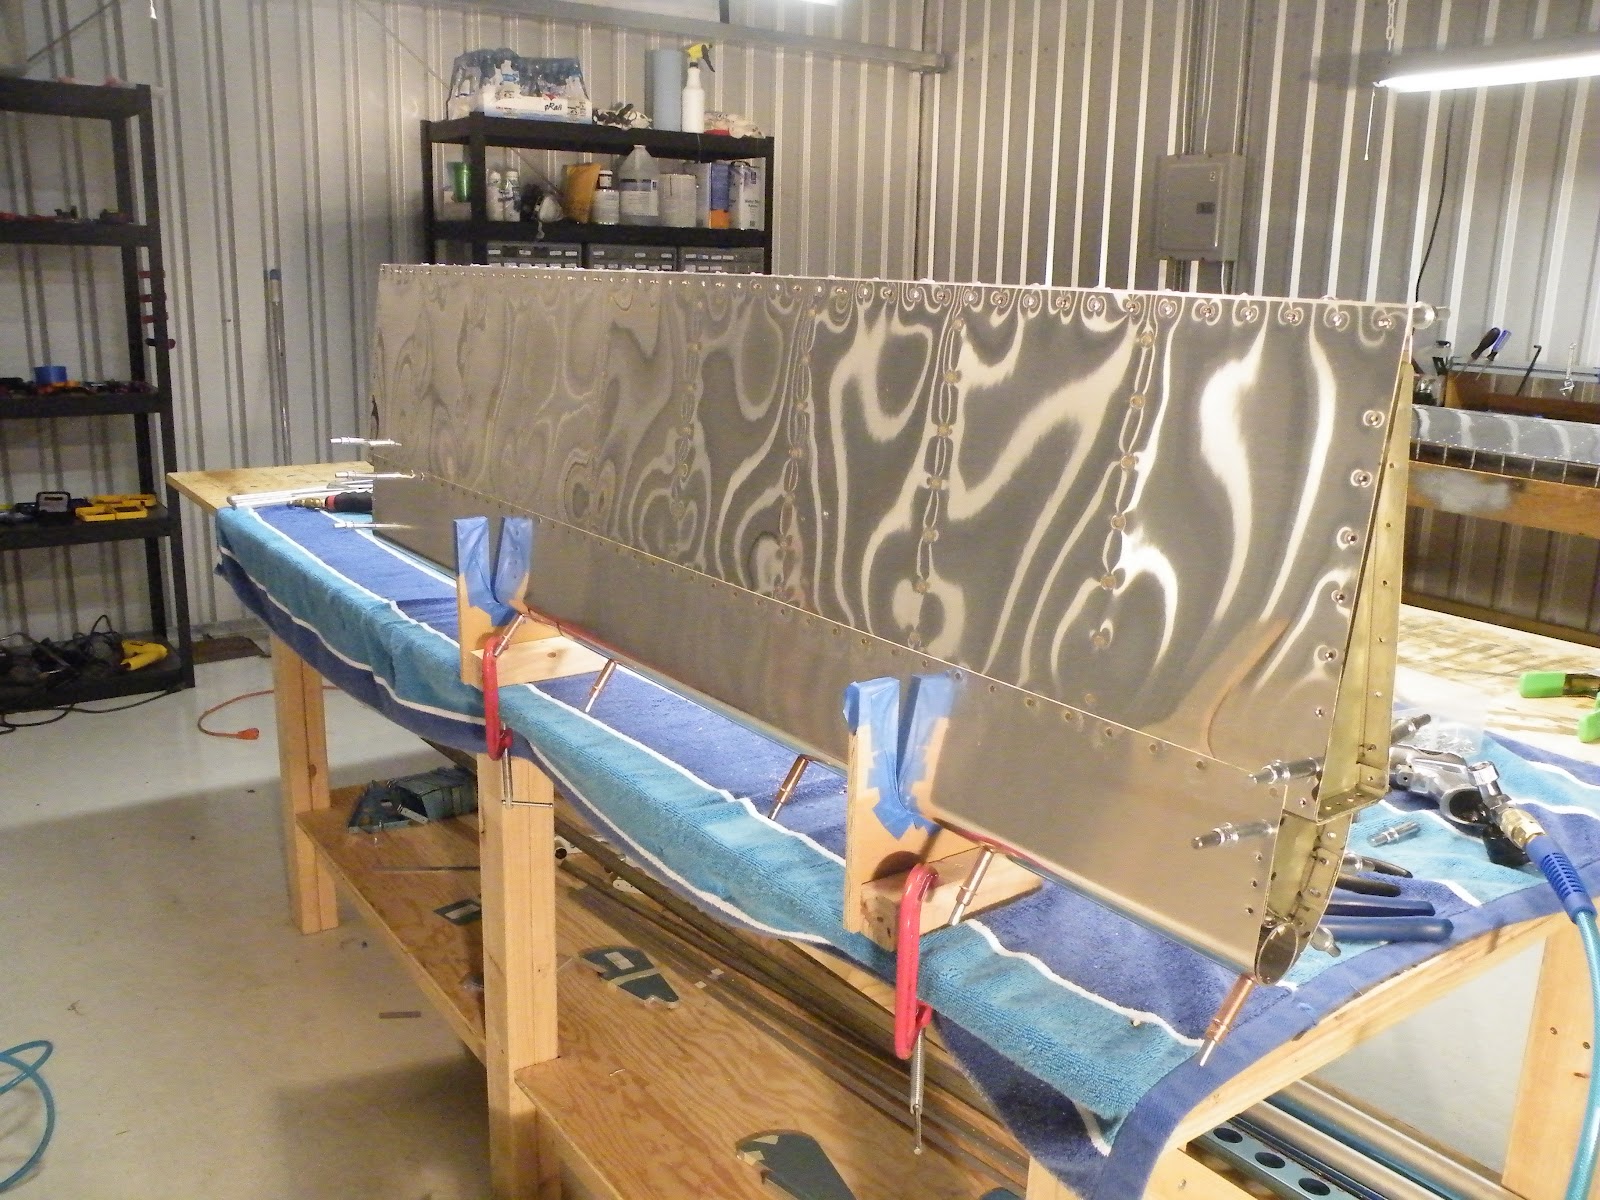
Here I am priming only one set of the skins. I broke the dimple bit about 40 holes from being done with all the skins, so I moved forward with the right wing skins only, which were fortunately all completed. I got a new dimple bit about a week later and then finished with the left wing.

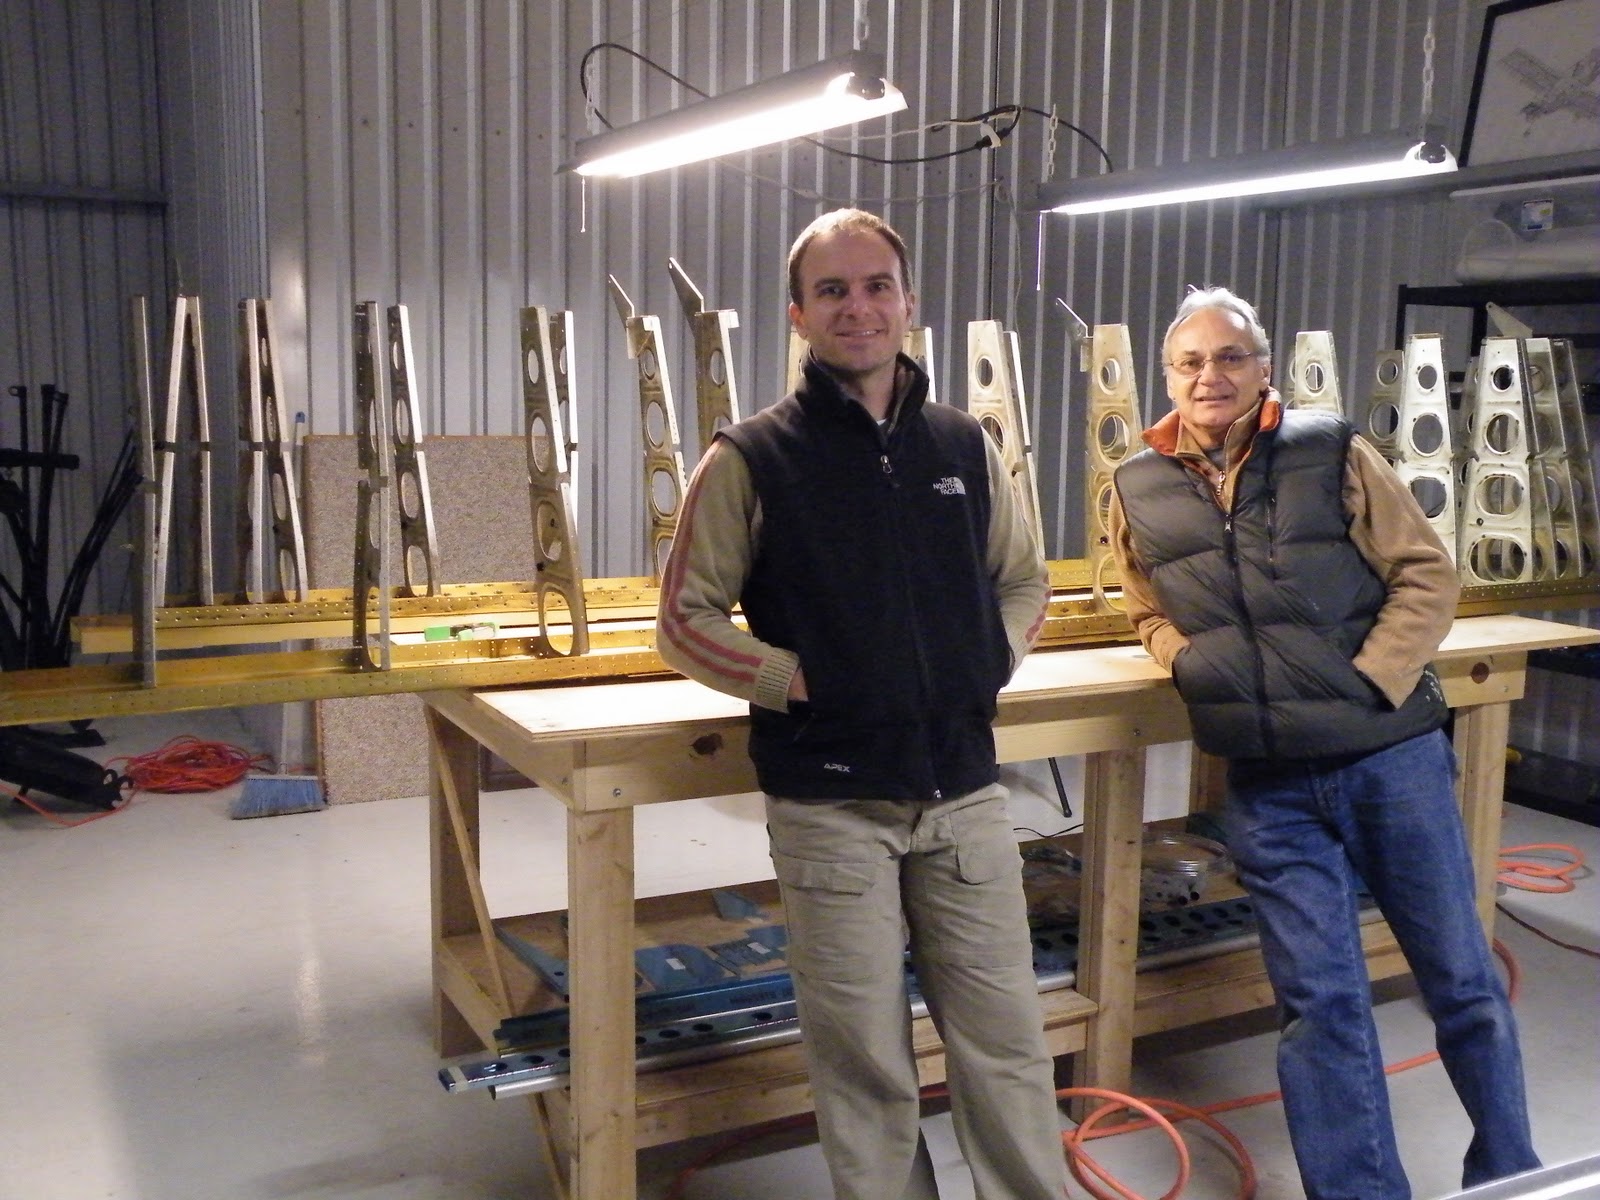
Stefan got back to the hangar after spending about a month working on the basement buildout at home. I know how much he enjoys priming and fortunately there was a lot to do. These are the left skins completed after the new dimple bit arrived.


Zu helped with about 4 hours of riveting. I sat on the table and riveted while Zu held the bucking bar.
Stefan helped with the other wing. We were able to rivet the whole thing in two days and about five hours of total riveting time. Stefan says, 'eh' for good, 'couple' for hit it again, and 'too much Jimmy' when I get carried away. So it sounds something like: eh, eh, eh, couple, eh, eh, eh, eh, eh, couple, couple, eh, eh, eh, too much Jimmy!, eh, eh, couple....for five hours.

The top skins are on. Taking a brake from work, we met another neighbor Bill flying an RV-8. He says it was the first one completed and it is a sweet looking plane. More motivation to keep up the work.


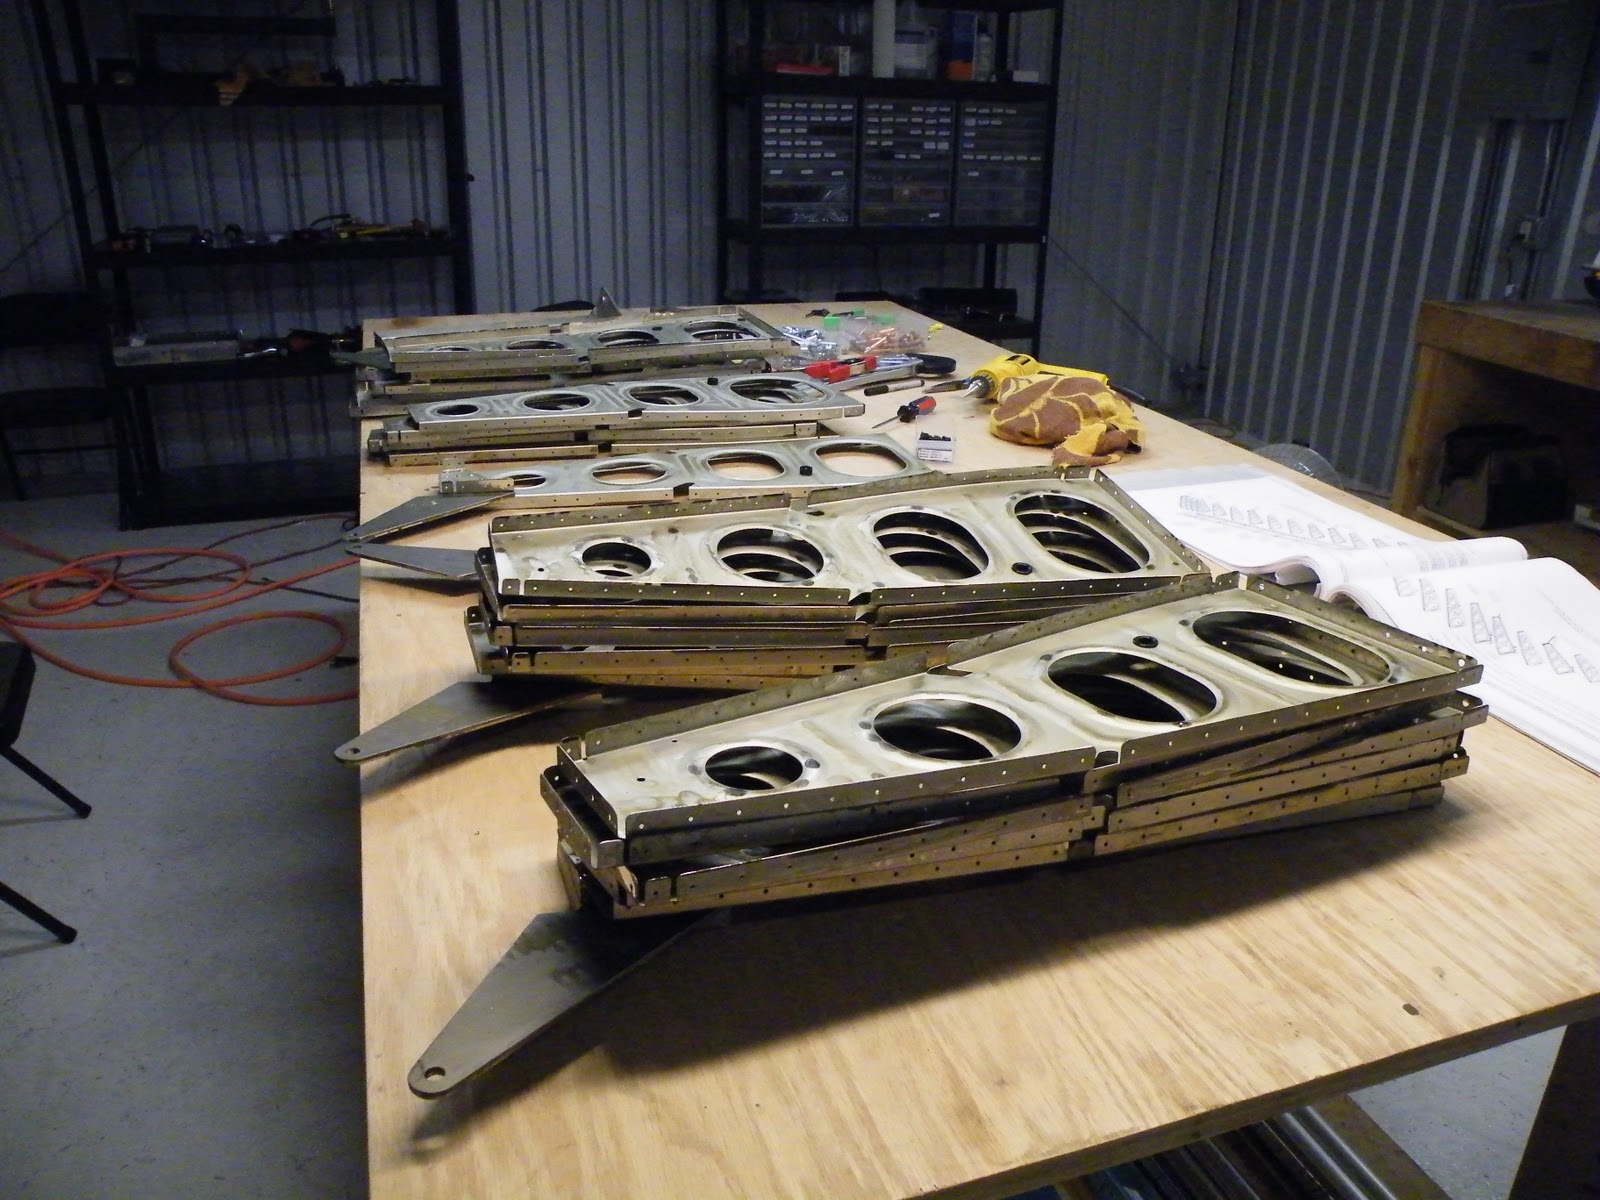
 Starting on the fuel tanks by removing the protective coating.


 My hangar neighbor Daniel and his wife Angela took Zu and I up for a flight in their Beechcraft Bonanza. Daniel has me take over the final approach for landing and says keep it around 80 knots. This being my first ever landing, it seemed fun until we were about 50 feet from the ground. At that point I said, 'You got it from here'. He then says, 'You're doing just fine.' Slightly panicking, I respond, 'No, really, I'm not ready for this.' I then saw him sit back in his seat, hands off the controls, and realized he was serious. About 20 feet off the ground, much to my relief, he grabbed the controls and set her down. Thanks for the fun, Daniel!
 Zu is all smiles as we climb through the broken clouds. Daniel wants to pull some Gs, but since Zu is pregnant, I got him to settle for some soft turns around the clouds.
  Back to work. The top skins are shown here clecoed to the ribs and main/rear spars. The top skins are two sheets of metal for each wing. There are some reinforcement plates under the inboard side of the skins for additional support where passengers walk.
 Daniel is helping me lay out the drilled and sanded skins for deburring and priming. The longer skin is outboard, while the shorter skin is inboard.
 Dimpling is a lot of work. Each of the couple hundred holes has to be dimpled to receive the rivet heads. This allows the final skins to be smooth on the exterior surface. You've got to be careful not to miss the dimple shaft and hit the metal.
 Here I am priming only one set of the skins. I broke the dimple bit about 40 holes from being done with all the skins, so I moved forward with the right wing skins only, which were fortunately all completed. I got a new dimple bit about a week later and then finished with the left wing.
  Stefan got back to the hangar after spending about a month working on the basement buildout at home. I know how much he enjoys priming and fortunately there was a lot to do. These are the left skins completed after the new dimple bit arrived.
 Zu helped with about 4 hours of riveting. I sat on the table and riveted while Zu held the bucking bar.
 The top skins are on. Taking a brake from work, we met another neighbor Bill flying an RV-8. He says it was the first one completed and it is a sweet looking plane. More motivation to keep up the work.


 The hangars are very quiet at night. It's dark and isolated and a little spooky (you should see how fast I run to the port-a-potty and back), so you can image my surprise when at about 9pm and I hear this voice through the walls, "Hey, what station are you listening to?" I'm thinking, who the hell is out here with me as I yell back "92.5." Then I hear, "What are you doing over there?" Before you know it, I'm having a conversation with the wall about my project. After a few minutes, Daniel came over to introduce himself to me in person. Being the only two people crazy enough to be at the hangars at night, we not surprisingly got along quiet well.