Tuesday, January 22, 2013

Aileron Actuation

The aileron actuation mechanism marks a turning point in the build project.  Up until now, it has been all about riveting.  We are now getting into the fun stuff, at least to me, of putting things together and making them move. 

Here is the first hinge bracket that will transfer the motion from the controls up to the aileron.
I got a new drill press and am wishing I'd had it since the beginning.  I love this tool!
Hand cutting the push/pull rods that are positioned inside both of the wings to transfer the control motion to the ailerons.
Here are some of the hinge brackets before they are bolted on.
I had a couple of helpers - here is Marek working on a side project of riveting two pieces of metal together.  He drilled, deburred, dimpled, and riveted the pieces pretty much on his own.  He is getting big.
Here is my brother Carl putting on the final touches.  Carl came out for the day, which was a huge help. 

Next up is the empennage assembly - which I've already begun!

Sunday, January 6, 2013

Flaps

Flaps are assembled and I'm match drilling.
We fabricated the wood cradles to support the flaps in an upright position while working.
Match drilling has been completed and I'm deburring the parts.  The back skins are final drilled for #33 pop rivets making deburring of those holes unnecessary.  Knowing this would have saved me at least a half hour of mindless work.
Parts are all out and ready to prime.  The only pieces not shown here are the skins.
I'm cleaning the skins in preparation for priming.

 Here are all the parts after priming.
Final assembly of the ribs and spars begins.
The nose skins are coming on here.
I'm sealing the trailing edge with tank sealant.
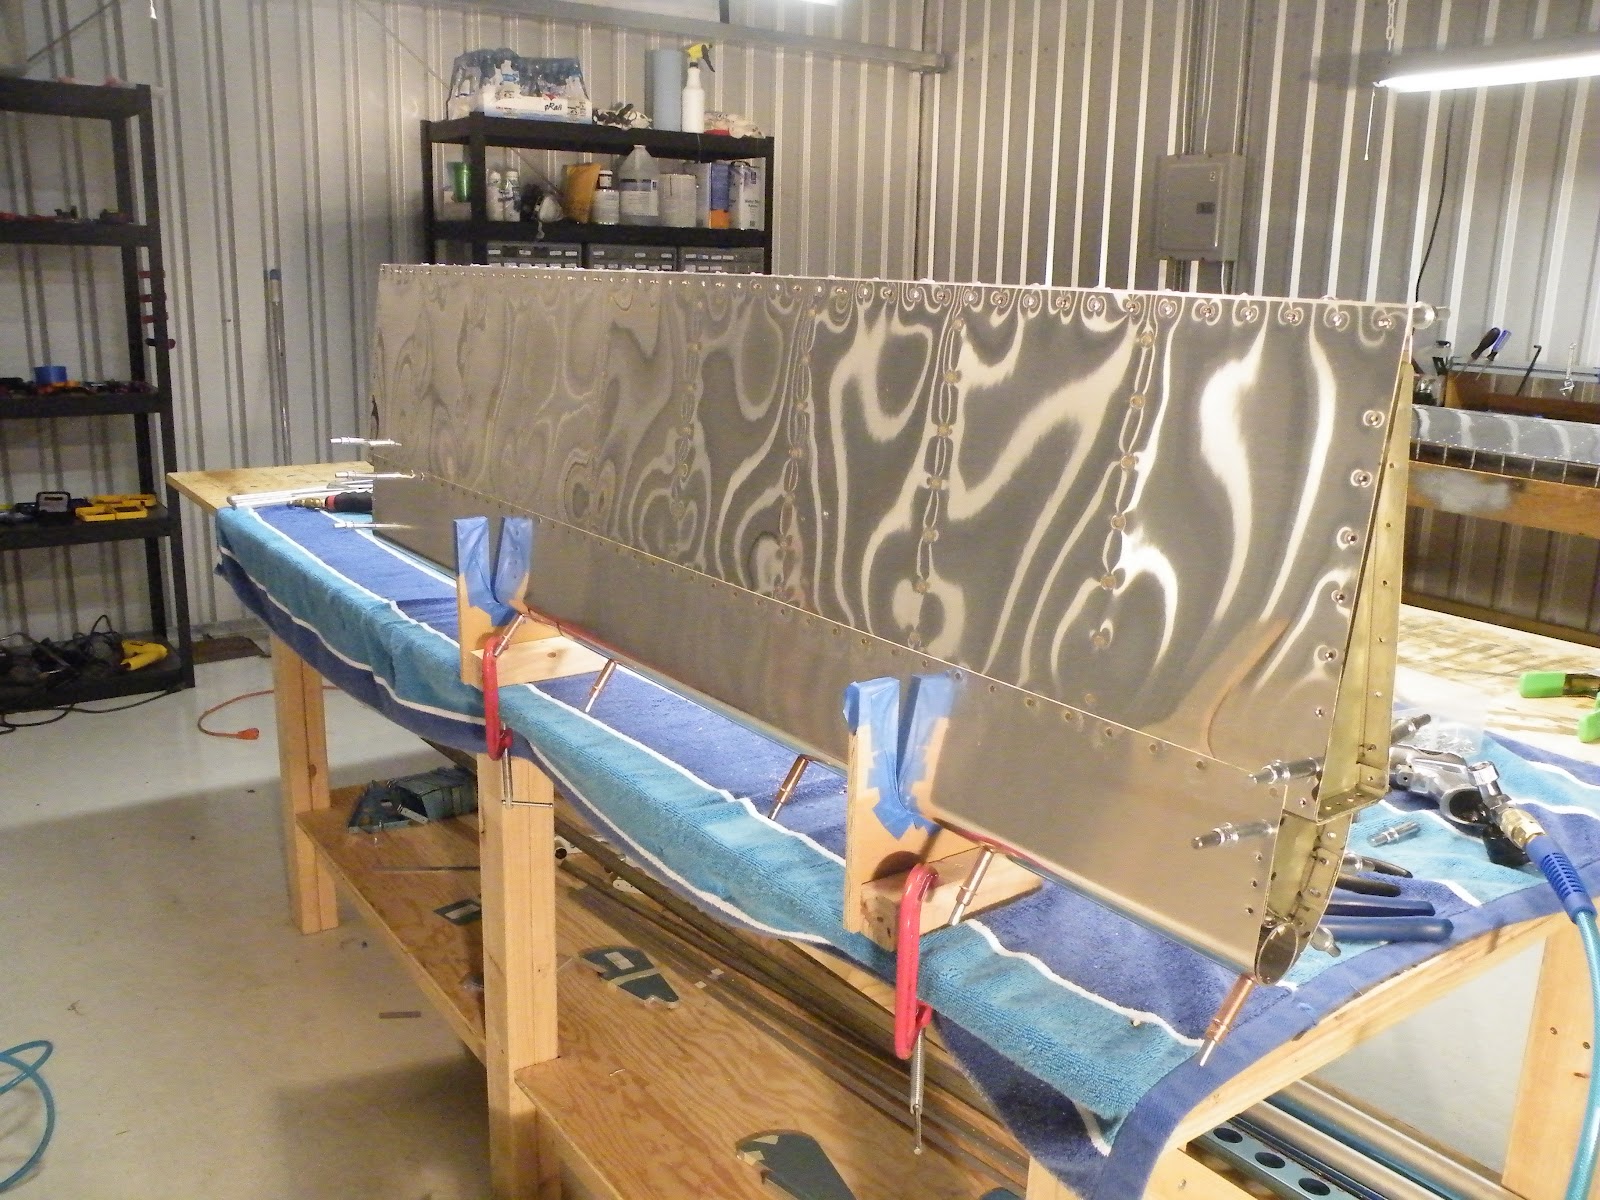
The top skins are buck riveted, while the bottom skins are pop riveted.
Here I am after the trailing edge has dried getting ready to rivet.
The flaps are done and with that the wings are done!  This is a momentous occasion as the flaps are the last pieces that I will construct.  With the quickbuild fuselage, I will be moving into the exciting assembly phase.
 
 
Flaps are attached.

Tuesday, September 25, 2012

Arlington Airshow

I finished flying ground school and am taking flying lessons now.  I'm about a week out from flying solo!

Here Marek and I are at the Arlington Airshow.

Sunday, September 23, 2012

Ailerons

Skins and stiffeners are laid out and ready to assemble.
Both left and right skins shown with the stiffeners clecoed.
Getting ready for work.
Deburring holes drilled in the stiffeners.
 Dimpling holes in the stiffeners.
Dimpling holes in the skins.
Priming skins and stiffeners before final assembly.
 Back-riveting the skins to protect the skin surfaces.
 Skins riveted and assembled with the nose of the aileron.

 Trailing edge added for match drilling.

 Stefan helping here dimple the holes in the nose.
 Riveting the ribs to the nose skin.
Ailerons are taking form.  Only the trailing edge and rib ends remaining.
Top side.
 Bottom side.


 Here is an out of order picture of riveting.


Thursday, March 15, 2012

Fuel Tanks

Starting on the fuel tanks by removing the protective coating.

 Drilling out some holes.
Marek and Eva stopped by to see our progress.  We're dimpling the skins.
Stefan has the tank sealant out and is starting to cover some of the rivets. 
The ribs are in the tank and I'm going back through covering up all the rivets with sealant.
The tanks stood up to the soapy water/pressure test.  No leaks.
Attaching the fuel tanks to the wings.  The fuel tank is on the ground in this picture.
Wings are shown here with the fuel tanks attached.  Next up are the ailerons and flaps.  One more month or so and then will be taking the summer off to get my pilot license.